Introduction
Use of third-party materials with the M200 with the Z-Temp is fun, rewarding, and sometimes necessary in order to print certain parts successfully or to achieve colors or characteristics unavailable from Zortrax materials. Our recommendations here are by no means definitive or final, but we hope they are helpful as starting points for your own experimentation.
Please see our Materials Guide for recommended settings and materials.
Be sure to visit our Gallery to see example prints in a variety of well-known materials - the photos are accompanied by the specific settings used.
Optimum extrusion temperature depends on many factors including material characteristics, print head speed, and the rate of extrusion. Extrusion temperature can be changed at any time using the Z-Temp, however due to thermal inertia and the M200's relatively slow PID loop, there is a significant time lag between changing a setting and actually reaching the new temperature. This can be easily observed using the Z-Temp’s ColorTemp™ display and heater monitor, and one quickly learns how much “lead time” to allow when making adjustments.
ABS
Printing with third-party "generic" ABS should be as trouble-free as printing with Z-ABS. Simply slice with the Z-ABS profile and select a 40-degree temperature reduction for a final temperature of 235ºC.
PLA
We've found that PLA is (ideally) a much better material than some proponents of ABS would have us believe, and when it works (see below) we love it. It shrinks far less than ABS, so your dimensions are more likely to be accurate. For the same reason, it has near-zero warpage compared with ABS, and long-term ABS users will be pleasantly amazed to see large, flat parts come out their printer with truly flat bottoms and square corners. It is surprisingly strong - we found that the snap-in tabs of our Z-Temp bed switch housing would break off on first use when printed with any of the officially-supported materials, but that PLA, either standard or PLA/PHA, is plenty strong enough.
Initial Bed Height
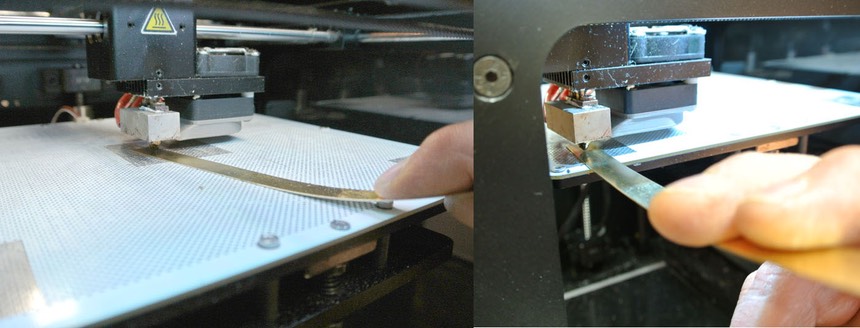
The nozzle-to-bed distance set by the M200's auto-height algorithm is too small for use with most PLAs and some other materials, resulting in feed stepper "clicking" due to excessive nozzle back-pressure and/or subsequent layers not being at the height that the printer expects them to be, causing spoiled prints. PLA-based materials require a larger first-layer distance due to the material characteristics (PLA transitions directly from molten to solid, whereas ABS goes through a more gradul "gel" phase) and due to the fact that PLA at ≈200º cannot re-melt any ABS already embedded in the perfboard holes. The initial bed height can be lowered (i.e. the nozzle distance for the first layer increased) by placing a conductive metal shim about 0.5mm thick between the nozzle and the perfboard during the auto-height sensing process (measured at two points) at the start of a print, and such a shim is included with each Z-Temp kit.
Note that use of the shim is unnecessary if our Z-Sense manual bed height control is used; Z-Sense allows you to “press Print and walk away” when launching a print.
If you experience any contact sensing problems when using the shim, scratching a crosshatch pattern into both sides of the end of the shim using an awl, Exacto knife, or similar tool will greatly improve conductivity.
The resulting initial nozzle distance may seem very large to users accustomed to ABS, but since PLA does not warp, it is much less critical to push the first layer into or onto the perfboard than with ABS, and the first layer can be virtually "poured" onto the bed from a relatively great distance. We use office-grade glue stick with PLA just as we do with ABS to promote first layer adhesion to the bed.
Nozzle Purging
In order to minimize clogs when changing filament types, the nozzle must be "purged" of the previous material as much as possible. It is especially critical when going from a high-temp to low-temp material that you run some of the new material at a high temperature in order to clear out the previous high-temp plastic.
Miscellaneous
Remember that the M200 firmware always performs "Load" and "Unload" operations at a firmware-determined temperature regardless of slicer settings. Firmware prior to 1.0.0 waits for 260ºC to be reached before loading or unloading. 1.0.x starts the load/unload sequence at 240º, but may continue heating beyond that point after loading or unloading has started. Because the nominal printing temperature (set by Z-Suite) is usually higher than this (e.g. 275º for Z-ABS profile), the optimum offset temperature during printing will usually be larger than the offset you'll want to use for loading/unloading filament. Z-Temp's ColorTemp™ feature provides a handy way of keeping an eye on extruder temperature during this process, and temperature adjustments can be made at any time.
The M200® may give an error if it is switched on while the extruder is hot and the Z-Temp is set for a large amount of offset, or if a large change in Z-Temp offset setting is made suddenly during printing. If the former happens, turn the printer off, set the Z-Temp to 0 offset, and turn the printer back on; to prevent the latter, allow 15-30 seconds between each 10-degree change in offset setting to give the extruder temperature time to reach its target.
The M200® may have difficulty reaching temperatures greater than 280ºC if the part fan is on. If you need to extrude above 280º you should slice with the fan set to 0 and use side covers on the printer.